Organizational Settings
The Organizational Settings section is fundamental for defining and managing the structural and administrative aspects of an educational institution.
Organizing these elements efficiently in Organizational Settings section ensures smooth operation and clarity of roles and responsibilities within the educational institution.
Guidelines and steps for capturing details are explained below, with the help of an example: CampX University
General Settings
This section lays the foundation for the organization's profile by capturing essential details:
-
Name: The official name of your organization, which is crucial for all official documentation and identification.
-
Address: The physical address of your main office including street address, city, state, postal code, and country. For organizations with multiple locations, additional addresses are included.
-
Contact Information: Comprehensive contact details such as phone numbers (main line, departmental lines), email addresses (general inquiries, specific departments), fax numbers, and social media handles.
-
Metadata: Additional data that helps uniquely identify and describe your organization include the date of establishment, registration numbers, accreditation details, industry codes, and any other pertinent identifiers that provide complete profile of the organization.
Accessing Organization Settings:
-
Login to Admin Panel: Ensure you are logged into the your institution Admin panel with the necessary permissions.
-
Navigate to Org. Settings: On the left sidebar, click on "Org. Settings" to expand the menu.
-
Select General Settings: Click on "General Settings" under the "Org. Settings" menu.
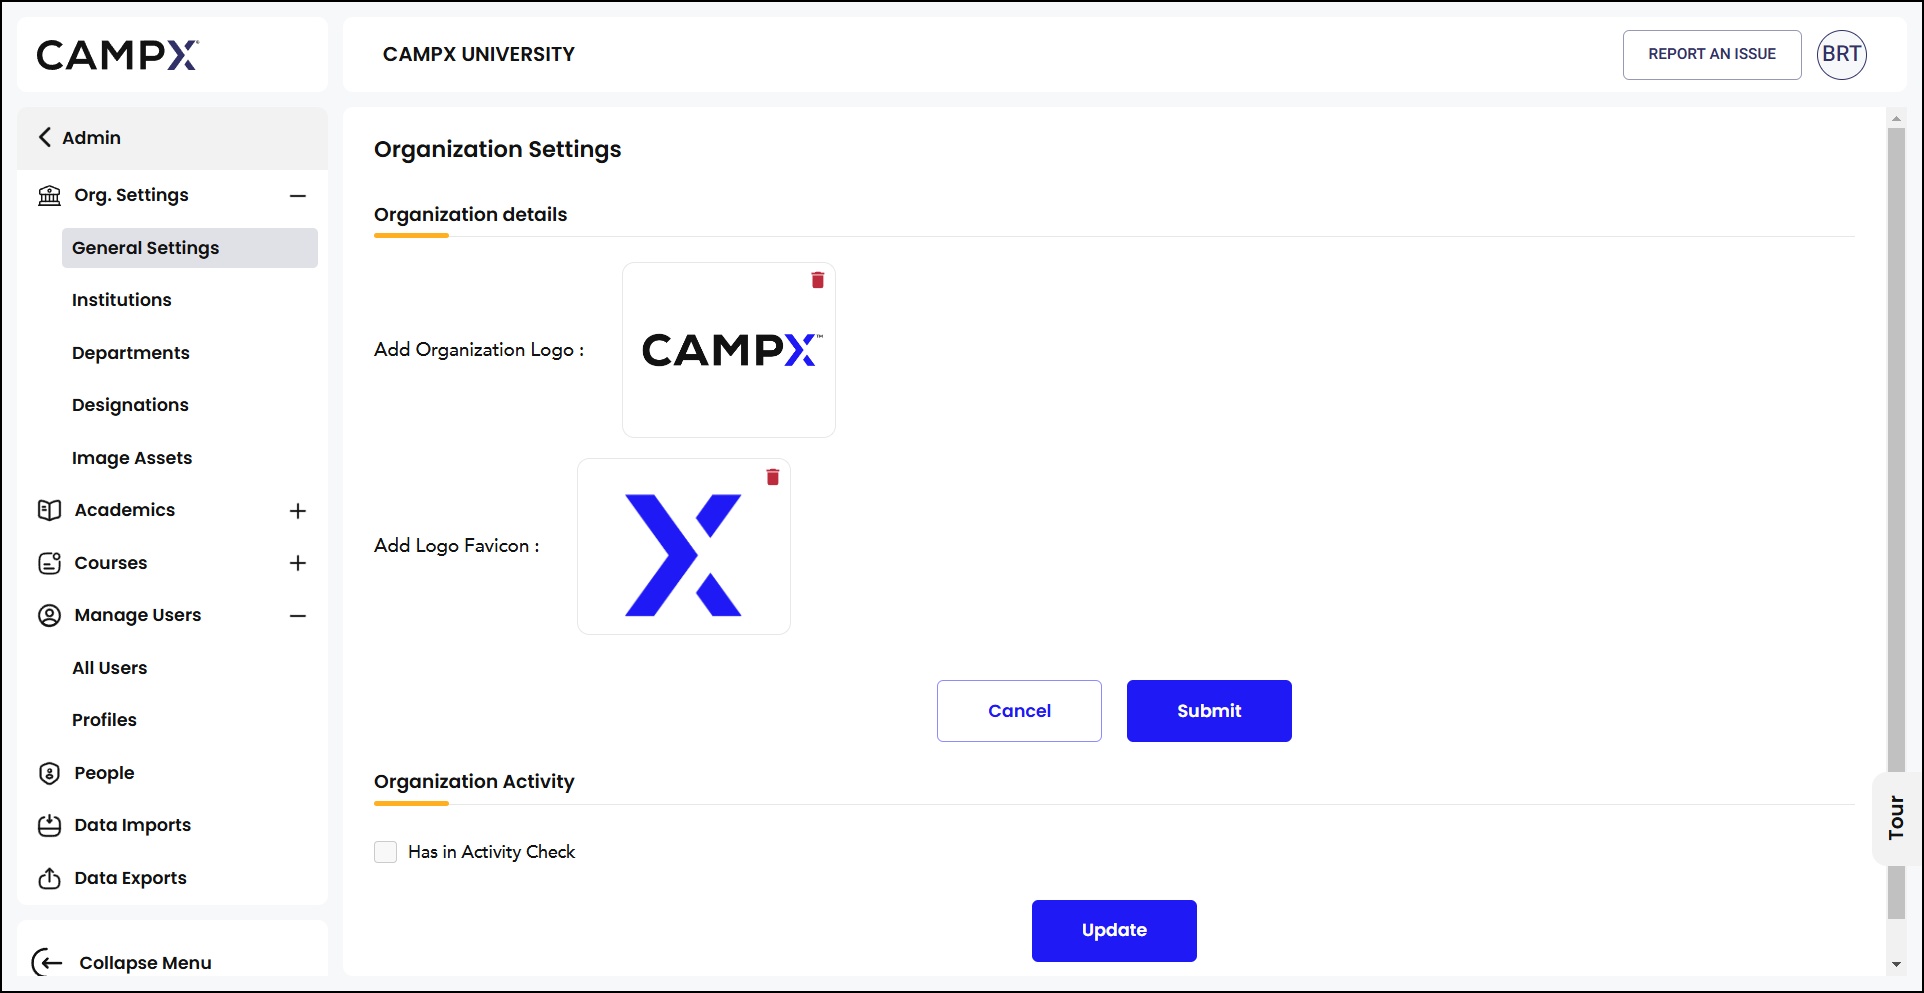
Adding or Updating Organization Logo
-
Locate Add Organization Logo Section: In the "Organization Settings" page, find the section labeled "Add Organization Logo."
-
Upload Logo: Click on the upload area or the trash icon to remove the existing logo and upload a new one. Ensure the logo meets the required specifications.
-
Preview Logo: The uploaded logo will be displayed in the preview area.
Adding or Updating Logo Favicon
-
Locate Add Logo Favicon Section: Below the organization logo section, find the "Add Logo Favicon" section.
-
Upload Favicon: Click on the upload area or the trash icon to remove the existing favicon and upload a new one. Ensure the favicon meets the required specifications.
-
Preview Favicon: The uploaded favicon will be displayed in the preview area.
Submitting Changes:
-
Submit Changes: After uploading the logo and favicon, click
Submitto save the changes. -
Cancel Changes: If you do not wish to save the changes, click the "Cancel" button.
Enabling Organization Activity Check
-
Locate Organization Activity Section: Scroll down to the "Organization Activity" section.
-
Enable Activity Check: Check the box labeled "Has in Activity Check" to enable this feature.
-
Update Settings: Click
Updatebutton to save the changes.
Institutions
Create institution(s) here, to attach the user to.
-
Click on
Create Institutionbutton. -
Enter Name, assign a Code, and fill in other details. Upload Logo, Favicon, and Report Header images.
-
Confirm creation of the institution.
-
Click on the 'Eye' icon to configure Institution. Choose to activate options.
-
Click on Edit icon to make changes and/or update data.
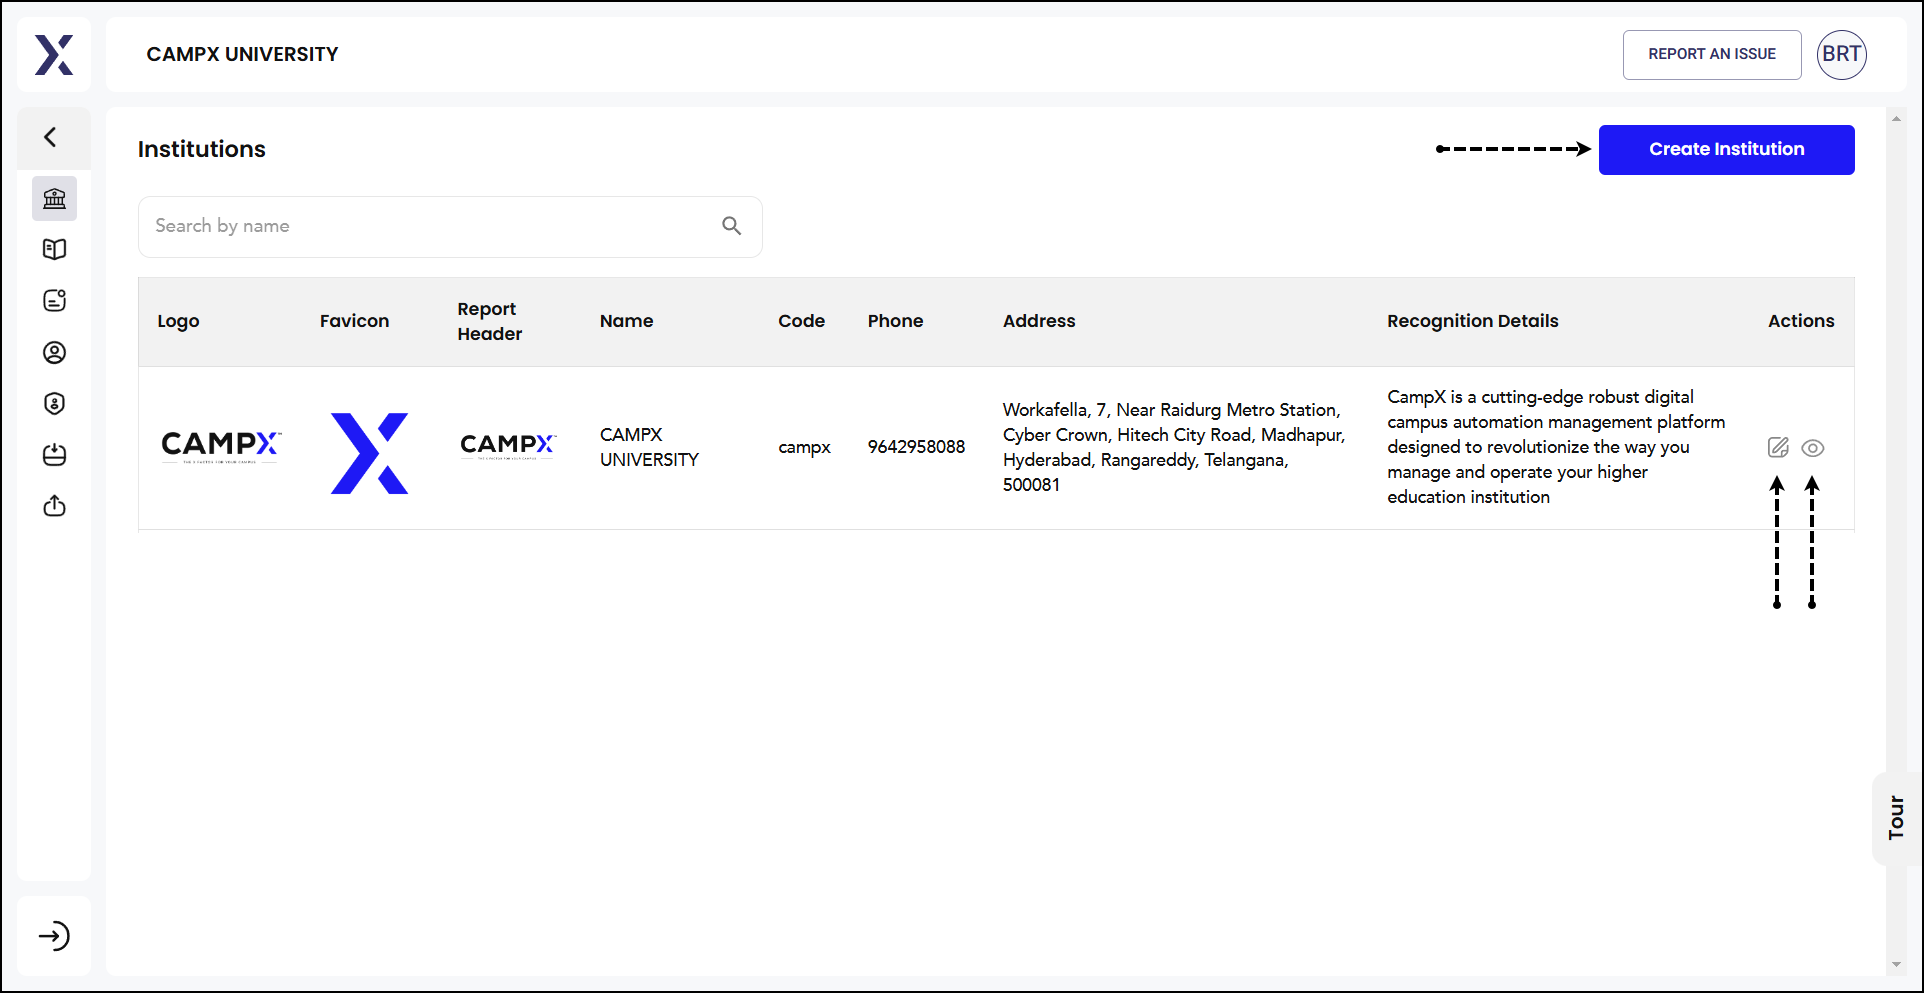
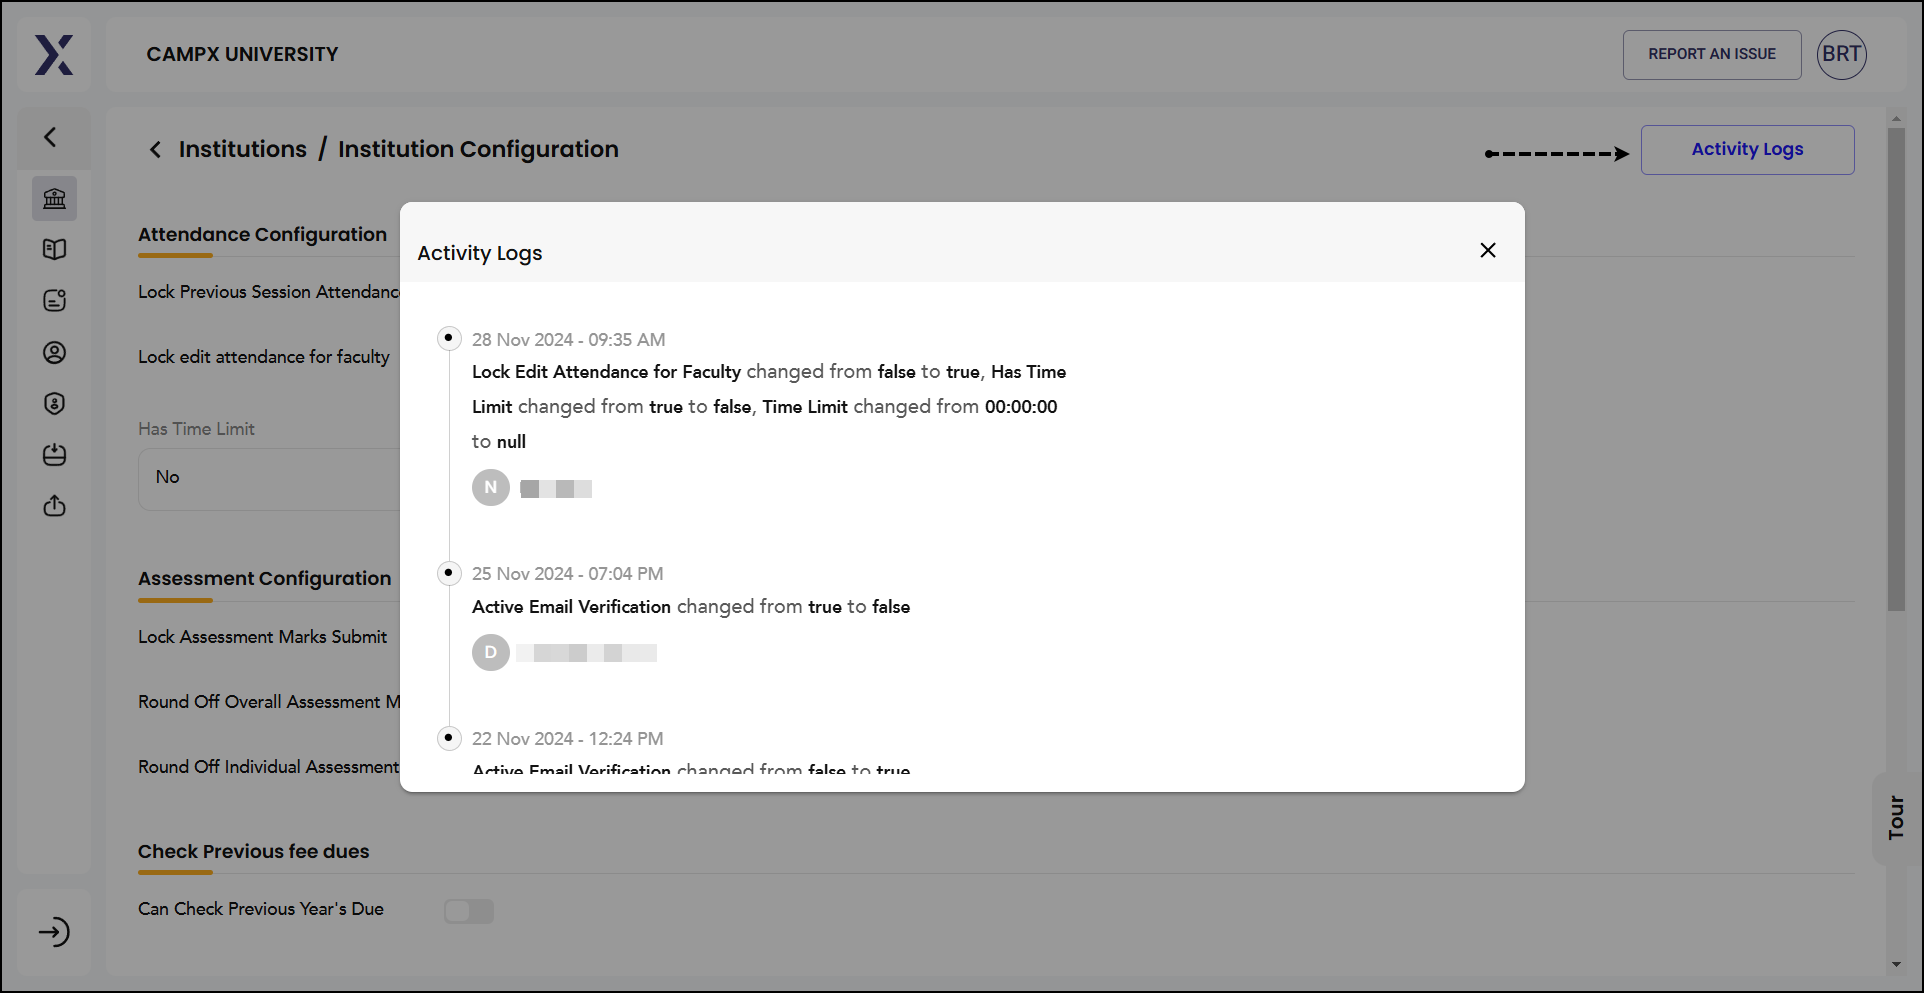
- Activity Logs stores history of all actions performed.
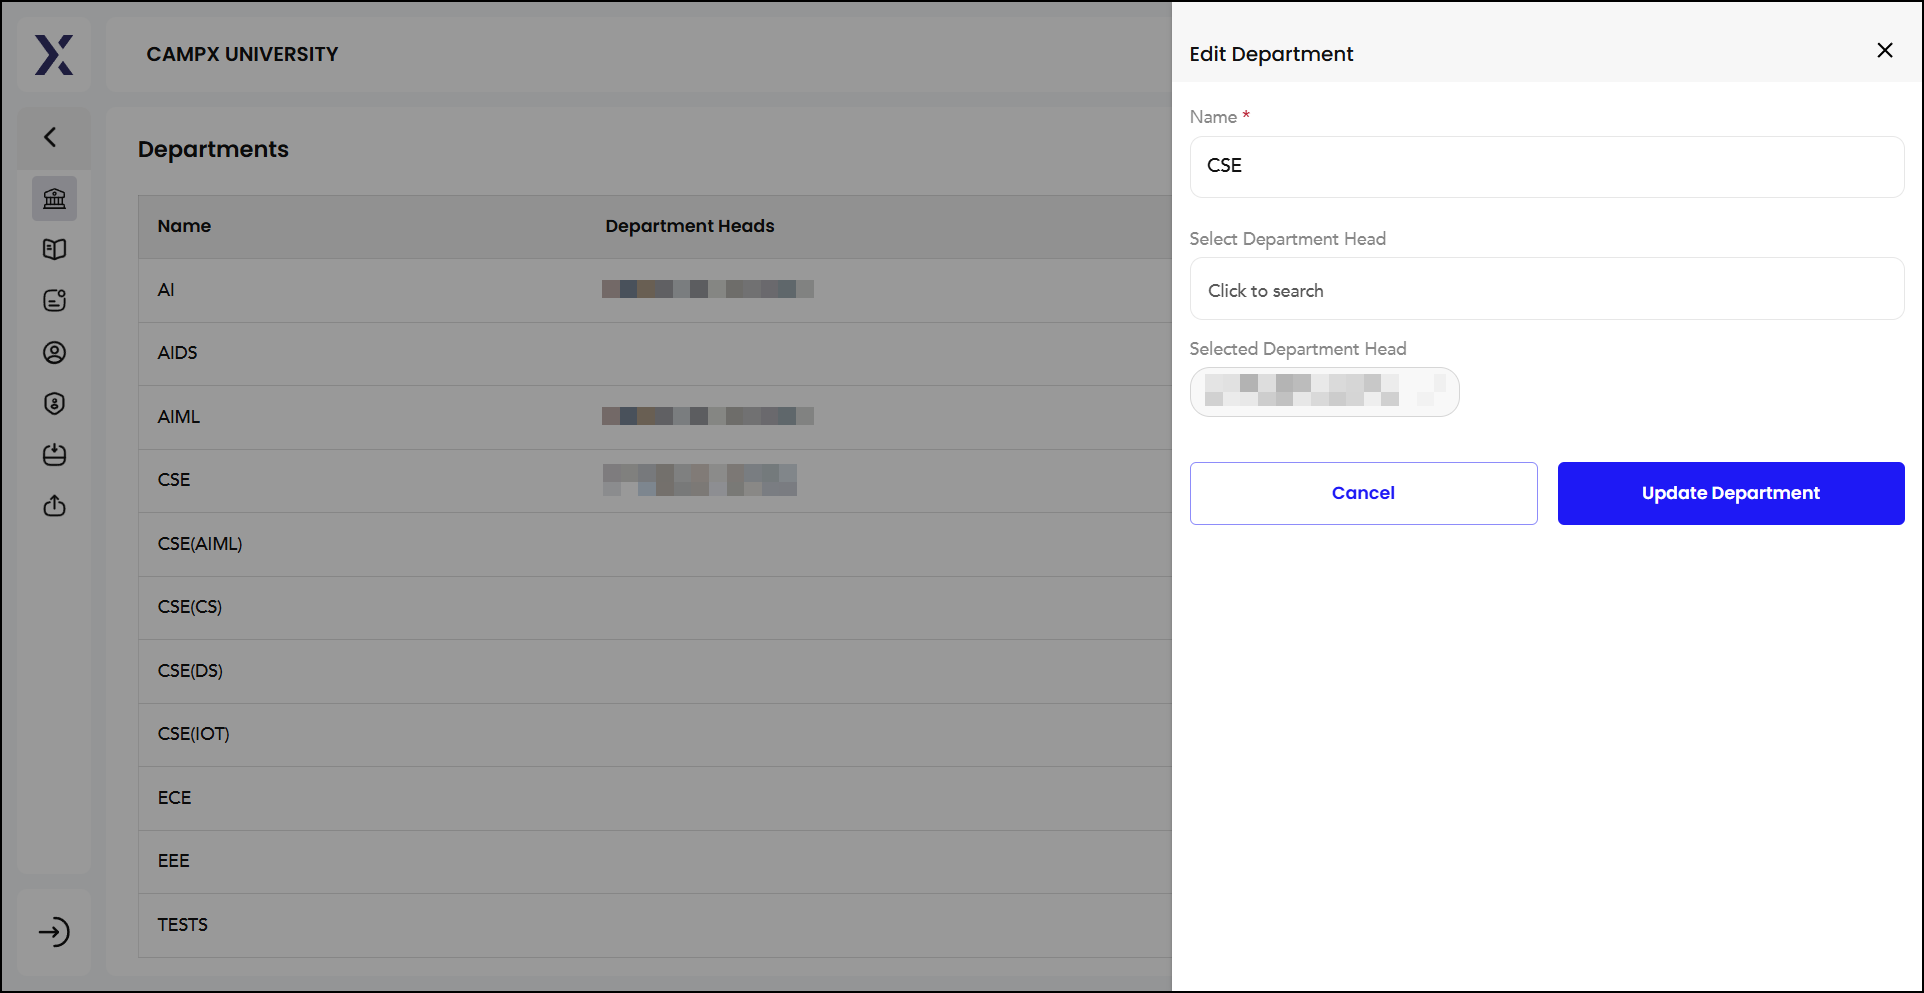
Departments��
This is where the various Departments that are there in the institution under each Degree Program are configured.
-
Click on
New Departmentbutton. -
Create a Department.
-
After creation, click on Edit icon to select HoD.
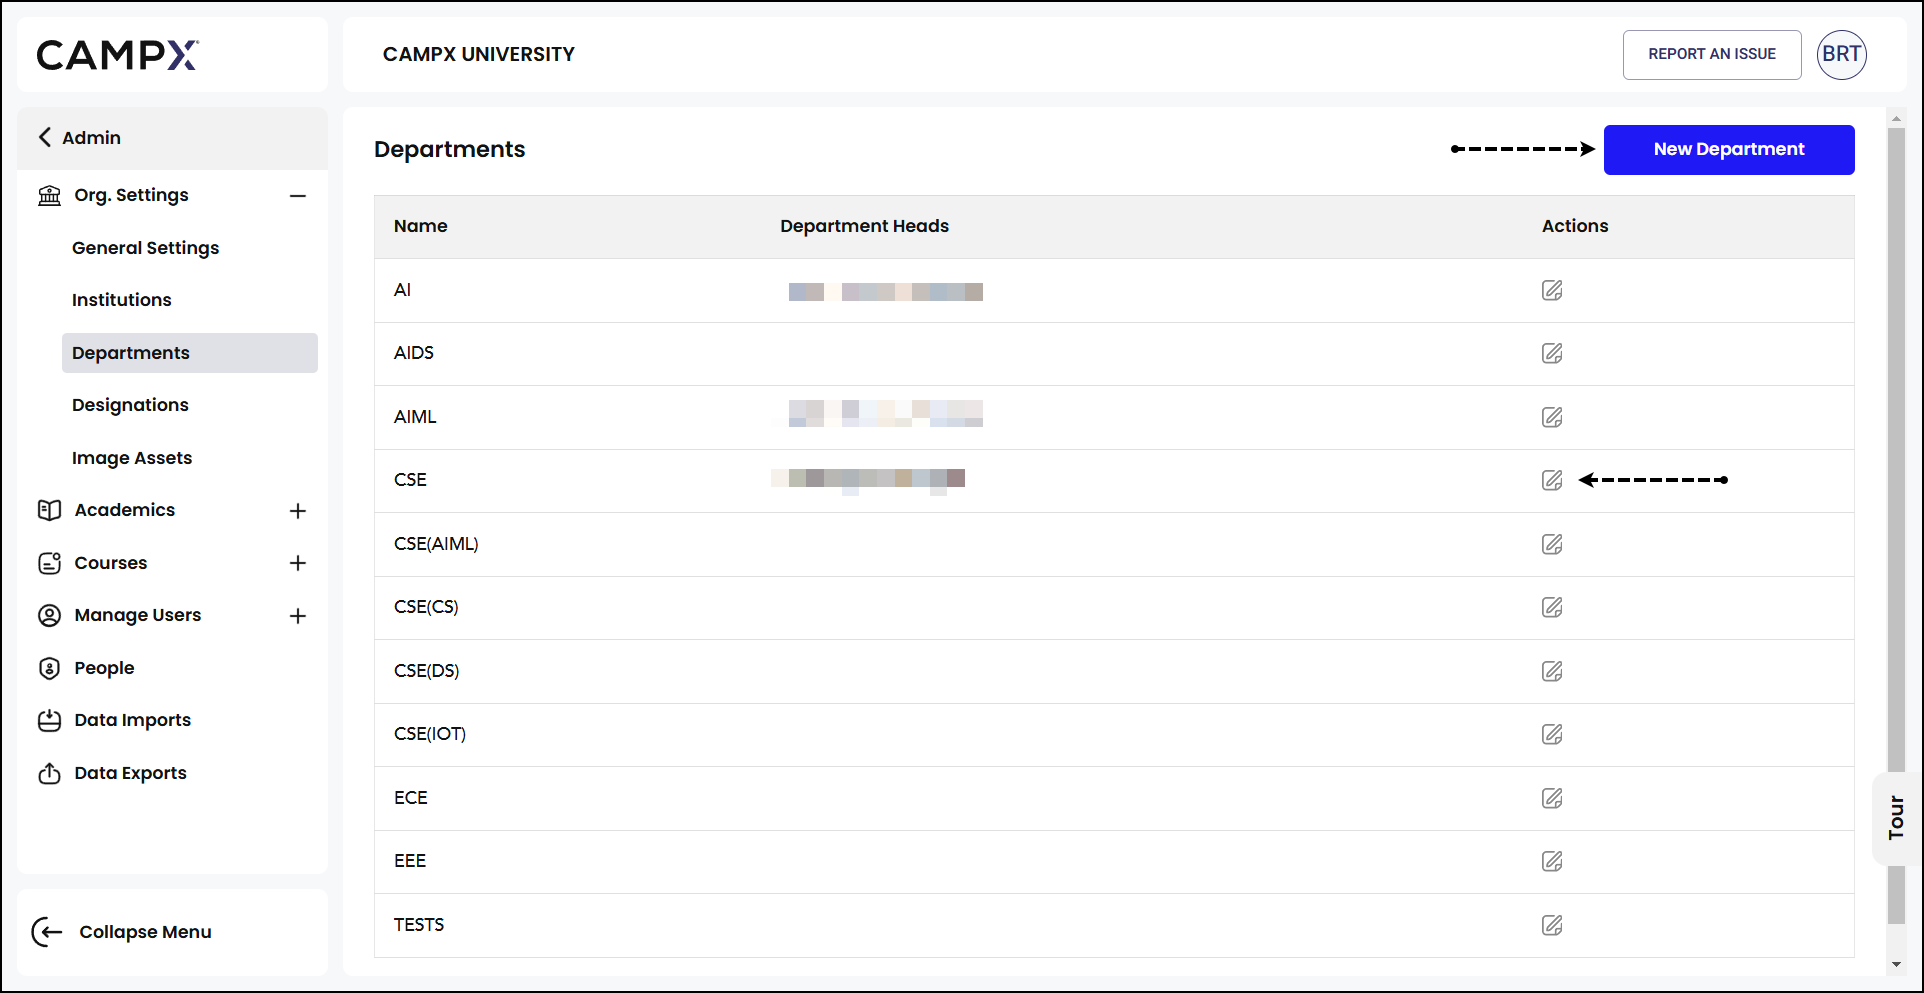
- Update if necessary.
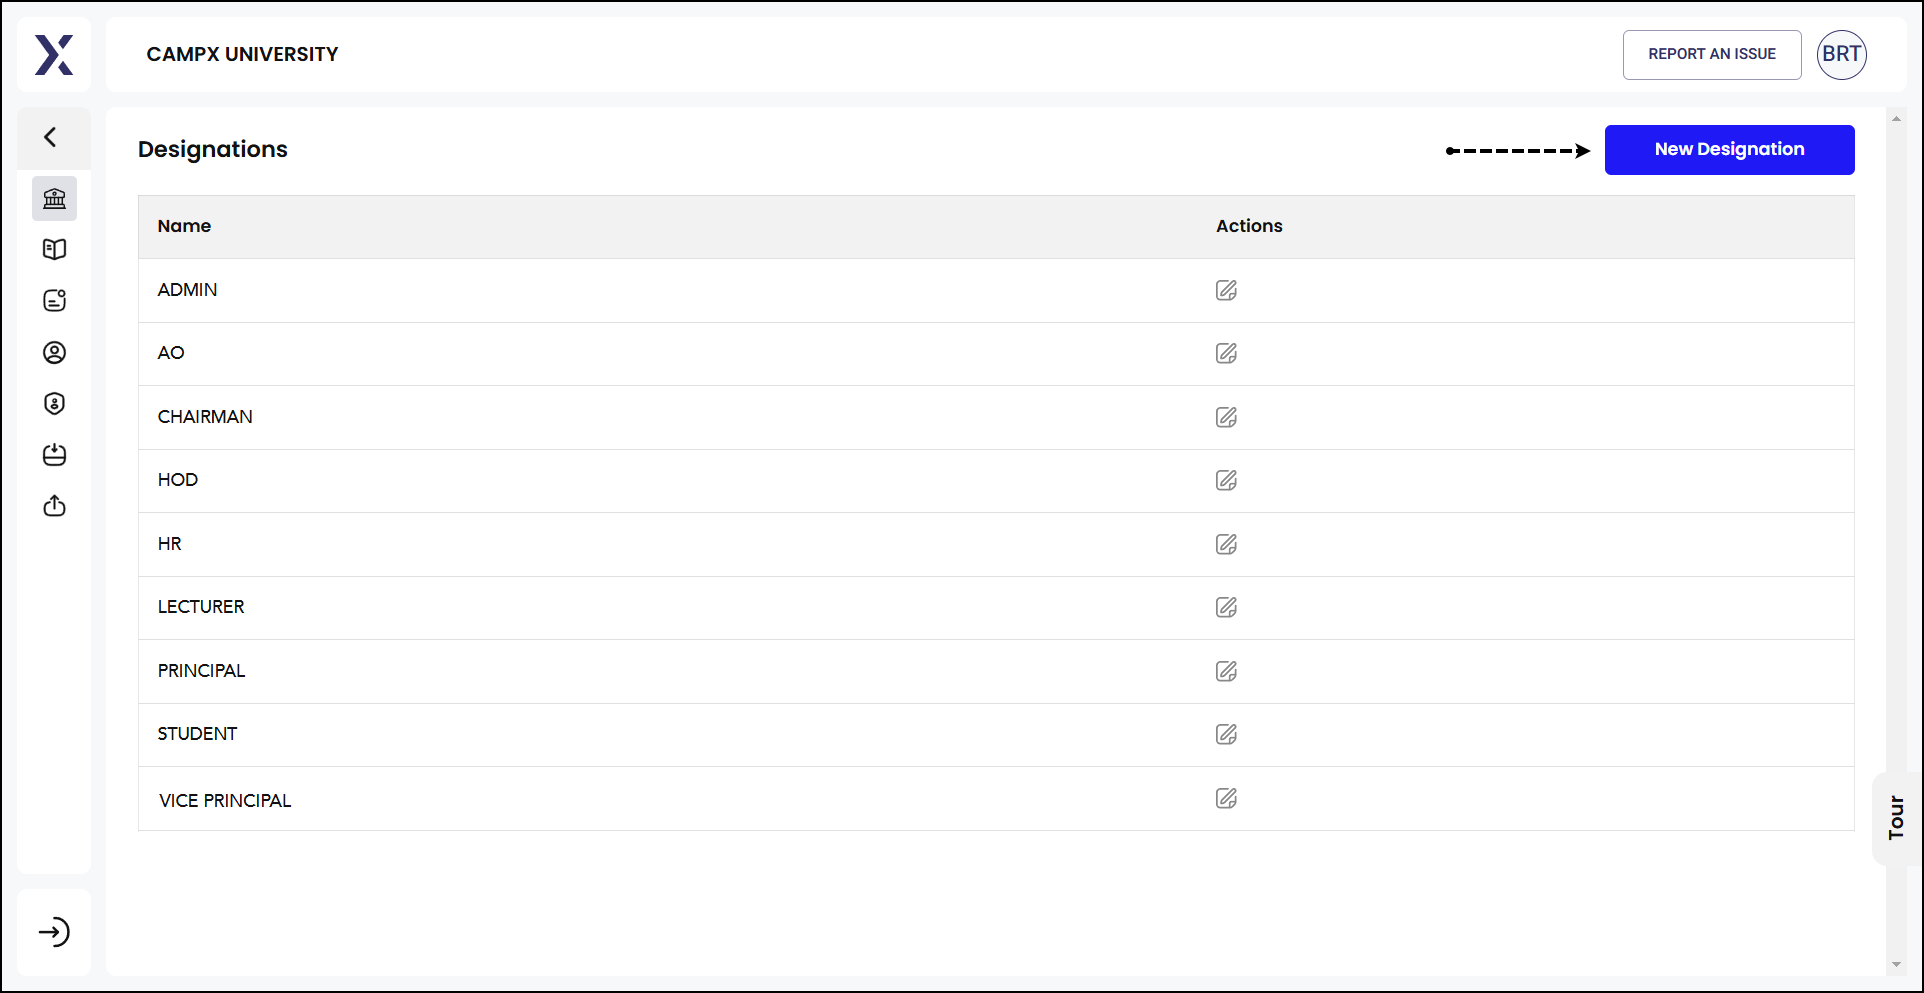
Designations
Designation for every staff member of the institution is scripted here.
-
Click on
New Designationbutton. -
Establish a new Designation. Edit an existing one.
By following these guidelines, you, as an administrator, can efficiently manage the visual elements and activity settings of your organization within the institution's Admin panel.